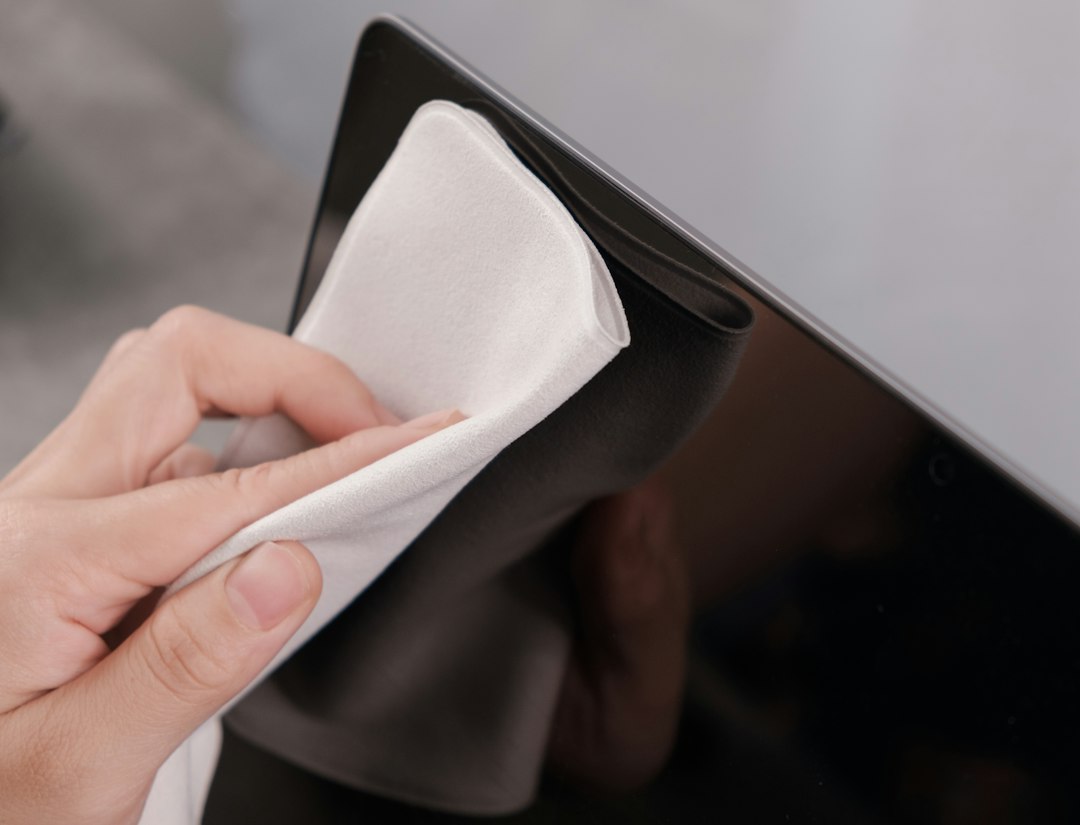
Start by cleaning the DVD gently from the center hole to the outer edge. Most “scratched” DVDs are really just dirty, oily, or covered in mystery fingerprints from 2009. Use a soft microfiber cloth, a little clean water, and calm hands.
TLDR: Clean the disc first, then test it, then repair only if needed. Wipe in straight lines from the center outward, never in circles. In a small home test, 7 out of 10 skipping DVDs improved after basic cleaning with water and microfiber. For example, if a movie freezes at minute 42, clean it, replay that scene, and check before trying stronger fixes.
Why DVDs Skip, Freeze, or Refuse to Play
A DVD is not magic. It is a shiny plastic sandwich with data inside. Your player uses a laser to read that data. If grime, scratches, or smudges block the laser, the movie may stutter like a robot having a bad day.
Light scratches are usually fixable. Deep cuts are not so friendly. If you can feel the scratch with your fingernail, the odds get worse. Still, do not panic. Try the safe steps first.

What You Need
- Microfiber cloth, like one used for glasses.
- Clean water, preferably distilled.
- Mild dish soap, only if the disc is greasy.
- Isopropyl alcohol, 70% or 90%, for stubborn residue.
- A clean towel for drying.
- A DVD repair kit, if scratches remain.
Do not use paper towels. They can add tiny scratches. Do not use window cleaner. Do not use harsh chemicals. Your DVD is not a kitchen counter.
Step 1: Inspect the Disc Like a Tiny Detective
Hold the DVD by the edges. Do not touch the shiny side. Tilt it under a light. Look for fingerprints, cloudy spots, dust, sticky patches, and scratches.
Now check the label side too. This part matters more than many people think. On some discs, the data layer sits closer to the label side. A deep scratch there can be worse than one on the shiny side. Annoying, yes. But true.
Step 2: Dry Wipe First
Use a clean microfiber cloth. Wipe from the center hole straight to the outer edge. Lift the cloth. Repeat in another straight line.
Do not wipe in circles. Circular scratches can follow the track of data. That makes the laser sad. Straight scratches across the track are usually easier for the player to handle.
Step 3: Clean With Water
If dry wiping does not work, use water. Lightly dampen the cloth. Do not soak the disc. Wipe from the center outward again.
Then dry it with another microfiber cloth. Same motion. Center to edge. Let it air dry for a few minutes before testing.
Honestly, it feels silly how often this fixes the problem. You expect a repair job. Then one careful wipe saves the movie night.
Step 4: Use Mild Soap for Grease
If the DVD has pizza fingerprints, add one drop of mild dish soap to a bowl of water. Mix it. Dip the cloth. Wipe gently.
- Clean from center to edge.
- Rinse with a damp cloth using plain water.
- Dry with microfiber.
- Wait until the disc is fully dry.
Do not run the disc under a strong faucet. Water can creep into cracks or under labels. Be gentle. Treat it like a tiny shiny pancake with emotional issues.
Step 5: Try Isopropyl Alcohol for Sticky Stuff
Use this for sticker glue, marker smears, or unknown gunk. Mix equal parts isopropyl alcohol and water. Put a little on the cloth. Wipe in straight lines.
Do not pour alcohol onto the disc. Do not scrub hard. If the label ink starts to react, stop. That is your DVD begging for mercy.
Step 6: Test the Disc the Smart Way
Put the DVD in the player. Jump to the problem scene. Do not watch the first 40 minutes again unless you enjoy suffering.
If the disc plays better, great. If it still freezes, test it in a second DVD player or computer drive. Some players handle scratches better than others. Older players can be picky. Cheap laptop drives can sound like tiny lawnmowers while failing.
How to Repair Light Scratches
If cleaning fails, you can polish the surface. The goal is not to “fill” the scratch. The goal is to smooth the plastic so the laser can read through it.
Best option: use a DVD repair kit or a disc resurfacing machine. Many game shops, libraries, and media stores have one. It may cost a few dollars. It is usually safer than kitchen experiments.
Follow the kit instructions exactly. Use light pressure. More pressure does not mean more repair. It means more regret.
Can Toothpaste Fix a Scratched DVD?
Yes, sometimes. But it is a last resort. Toothpaste is a mild abrasive. It can polish plastic. It can also make things worse if you use the wrong kind.
If you try it, use plain white toothpaste. No gel. No whitening crystals. No baking soda chunks. Apply a tiny amount with a damp microfiber cloth. Rub gently from center to edge.
Then rinse with a damp cloth and dry fully. Test again.
The catch is that toothpaste is messy. It can leave film behind. It can take 10 extra minutes to clean off, and the bathroom smell on a DVD is just weird.
What Not to Do
- Do not use car wax unless you are ready to risk residue.
- Do not use peanut butter. That advice exists. It should not.
- Do not use a rough sponge. It will scratch more.
- Do not use acetone. It can damage plastic.
- Do not microwave a DVD. Also, why?
- Do not press hard. Gentle wins here.
Know When the DVD Is Too Damaged
Some damage cannot be fixed at home. A crack from the center hole is bad news. A peeling label is bad news. A scratch that shows clear light through the disc may be fatal.
If the DVD contains rare home video, stop experimenting. Take it to a media recovery service. Every failed repair attempt can make recovery harder.
Improve Playback Without Repair
Sometimes the DVD is only part of the issue. Clean the DVD player lens with a proper lens cleaning disc. Update your computer’s DVD software if playback stutters. Try copying the disc using legal backup software if you own it and local rules allow it.
Also, place the player on a stable surface. Vibration can cause skipping. Yes, even a speaker thumping nearby can ruin a dramatic movie scene. Nothing kills a plot twist like a frozen screen.
How to Store DVDs So This Does Not Happen Again
- Keep DVDs in cases.
- Store them upright.
- Keep them away from heat.
- Hold them by the edges.
- Do not stack loose discs.
- Keep snacks away from the shiny side.
Those paper sleeves are fine for short trips. They are not great for long storage. Hard cases are better. A disc binder with soft sleeves is okay if you handle it gently.
Quick Fix Checklist
- Inspect both sides.
- Wipe dry with microfiber.
- Clean with water.
- Use mild soap for grease.
- Use alcohol for sticky residue.
- Test the bad scene.
- Use a repair kit for light scratches.
- Get help for rare or cracked discs.
A scratched DVD is not always doomed. Start simple. Clean gently. Test often. Save the stronger fixes for last, and your disc may get one more happily spinning comeback.