180-degree video shows the world in front of the camera. 360-degree video shows the whole world around it. That is the simplest way to split them. If you want focus, use 180. If you want freedom, use 360.
TLDR: 180 video is like sitting in the front row and looking at the stage. 360 video is like standing in the middle of the room and turning your head anywhere. For example, a real estate team might use 180 video for a clean guided tour and cut editing time by about 30%, while 360 video may increase viewer exploration time by 20% because people can inspect every corner. Pick 180 for control. Pick 360 for full immersion.
What 180-Degree Video Means
A 180-degree video captures a half circle. It records what is in front of the camera. Think of your normal eyesight. You see forward. You do not see behind your head. Unless you are an owl. Lucky owl.
In 180 video, the viewer can usually look left, right, up, and down inside that front half. But they cannot turn all the way around. The back side is not recorded.
This makes 180 video feel clean and easy. It is great for:
- Interviews
- Concerts
- Product demos
- Training videos
- Classroom lessons
- Cooking tutorials
The big win is control. The director knows where the viewer is looking. The viewer still feels present, but not lost.
What 360-Degree Video Means
A 360-degree video captures everything around the camera. Front. Back. Left. Right. Up. Down. All of it.
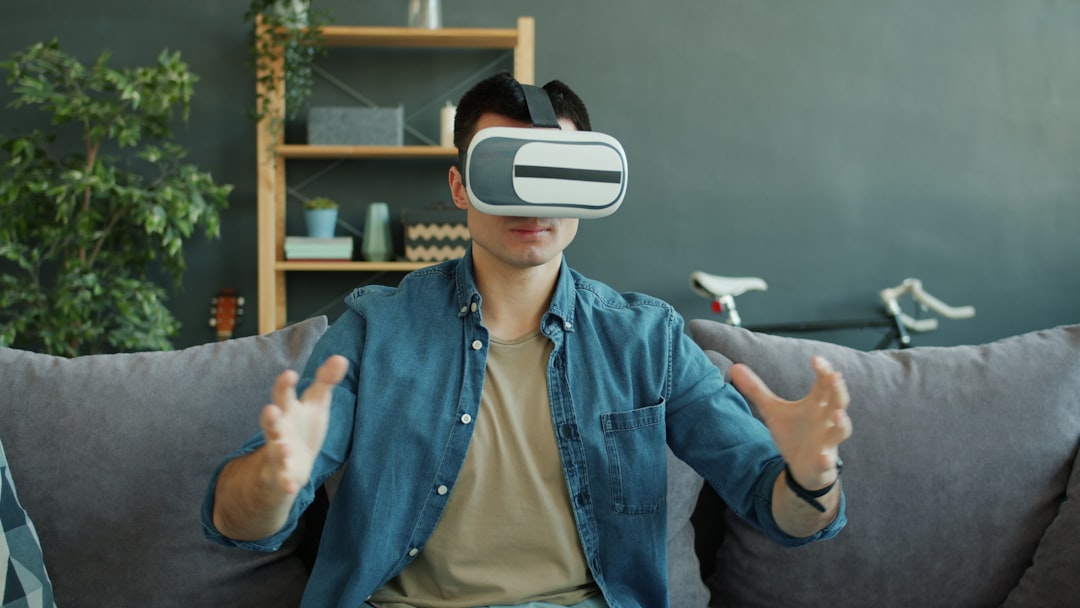
The camera sits in the middle of the action. The viewer can turn in any direction. On a phone, they can drag the screen. In a headset, they can move their head. It feels more like being there.
360 video is strong for:
- Travel experiences
- Virtual tours
- Museums
- Real estate
- Safety training
- Sports and events
The fun part is freedom. The annoying part is also freedom. Viewers may stare at a lamp while the main action happens behind them. Great. The actor gives the line of the century, and someone is admiring a ceiling fan.
The Main Difference: Control vs Exploration
The 180 vs 360 choice is not about which one is “better.” It is about the job.
180 video is guided. The creator controls the scene more. It is easier to light. Easier to hide the crew. Easier to frame people. Easier to edit.
360 video is open. The viewer controls the view. This can feel magical. It can also make production harder. There is almost nowhere to hide lights, microphones, tripods, or the person eating chips in the corner.
Use this quick rule:
- Use 180 when the viewer should focus on one main subject.
- Use 360 when the viewer should explore a place.
- Use 180 when you need speed and clean storytelling.
- Use 360 when space matters as much as the subject.
Camera Perspective: Where the Viewer “Stands”
Perspective matters a lot in immersive video. The camera becomes the viewer’s body. Put it in the wrong place, and the whole scene feels strange.
For 180 video, place the camera where a person would sit or stand. For an interview, put it across from the guest. For a demo, place it near the hands or product. Keep the action in the front half.
For 360 video, place the camera where someone would naturally pause and look around. In a hotel room, put it near the center. In a training room, place it where the trainee would stand. At an event, put it where the crowd energy feels strong.
Height matters too. Keep the camera near eye level. Around 150 to 170 cm works for many standing scenes. For seated scenes, lower it. If the camera is too high, viewers feel like giants. If it is too low, they feel like a lost toddler.

Motion: Please Do Not Make People Dizzy
Motion is where immersive video can go wrong fast.
In normal video, camera movement can be exciting. In VR or immersive viewing, it can make people feel sick. The viewer’s eyes see movement, but the body is sitting still. The brain does not love that joke.
For 180 video, gentle motion can work. Slow pans are fine. Small camera moves are fine. Fast handheld shaking is usually a bad idea.
For 360 video, be even more careful. A moving 360 camera can feel odd because the viewer has no control over the ride. Walking shots may work, but test them. Really test them. Honestly, it feels like some apps need a big red warning that says, “This clip may turn your stomach in 12 seconds.”
Good motion tips:
- Keep the camera stable.
- Use slow moves.
- Avoid sudden turns.
- Do not spin the camera.
- Let action move around the camera.
- Test on a headset, not only a laptop.
Storytelling in 180 Video
180 storytelling feels close to regular filmmaking. You guide the eye. You can use body position, light, sound, and movement to show what matters.
A chef can face the camera. A teacher can point to a board. A trainer can demonstrate a machine. The viewer knows where to look.
This format is also friendly for brands and lessons. You can keep logos visible. You can keep the speaker centered. You can simplify the shot list.
Editing is easier too. There is less visual mess. File sizes are often smaller than high quality 360 video. That matters when deadlines are rude.
Storytelling in 360 Video
360 storytelling needs a different mindset. You cannot force the viewer’s eyes. You can only guide them.
Use sound. If something happens behind the viewer, add a sound cue. A door creaks. A guide says, “Look to your left.” A dog barks. People will turn.
Use movement. Viewers notice moving objects. A person walking into the scene can pull attention without feeling fake.
Use light and color. Bright areas attract eyes. So do faces. So does contrast. A red jacket in a gray room will get noticed.
But do not overload the scene. If everything is interesting, nothing is clear. 360 video can become a visual junk drawer. Nobody wants to hunt for the story like it is a missing sock.
Production Gear: What You Need
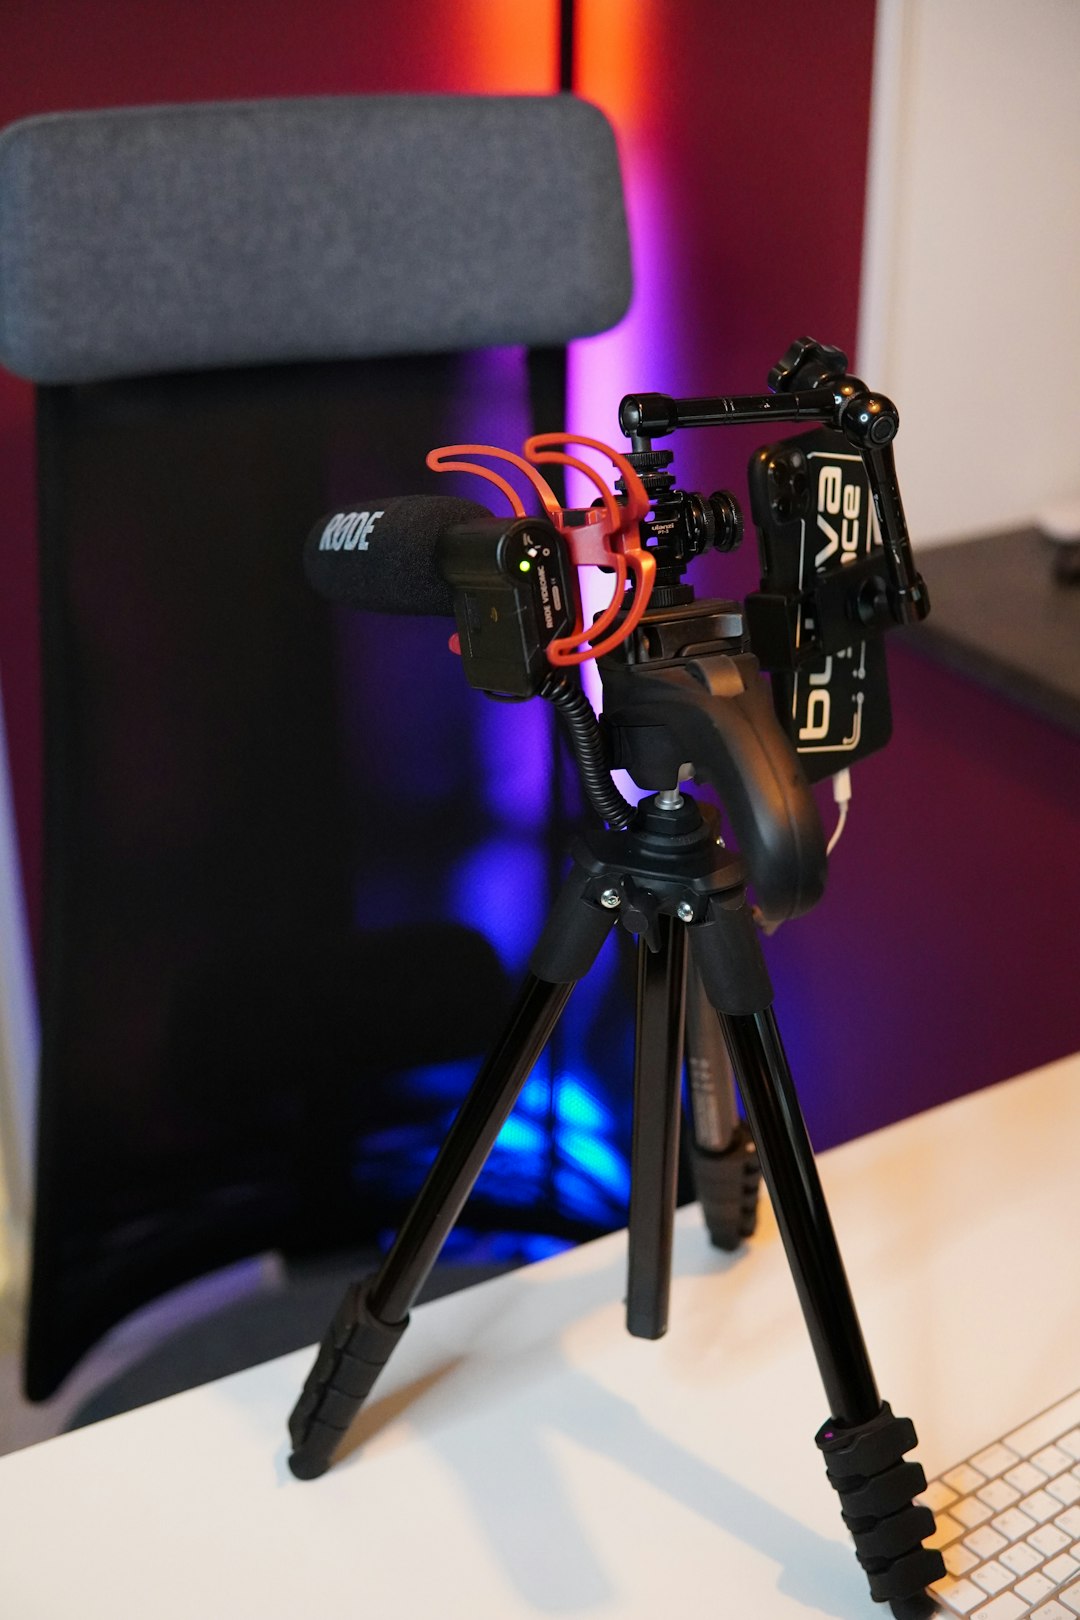
For 180 video, you can use a VR180 camera, a stereo camera, or even a regular camera for flat 180-style framing. True VR180 often uses two lenses. This gives depth when viewed in a headset.
For 360 video, you need a 360 camera with two or more lenses. The camera records several views and stitches them into one sphere. Stitching is the process of joining the images together.
That stitch line can be annoying. Keep important faces and objects away from it. If a person stands right on the stitch, they may look warped. Nobody wants their CEO looking like a melted action figure.
You also need:
- Good audio, because bad sound ruins immersion fast.
- Stable support, like a monopod or tripod.
- Even lighting, since hiding lights is harder in 360.
- Fast storage, because immersive files get big.
- A headset test, because phone previews can lie.
Editing and Delivery
Editing 180 video is usually simpler. You trim clips. Adjust color. Mix audio. Add titles if needed. Then export for web, headset, or app use.
360 editing takes more care. You may need to set the starting view. You may need to fix stitching. You may need to remove a tripod. Expect to waste time on tiny alignment issues that somehow take 25 minutes to fix and still look slightly weird.
Delivery also matters. A 360 video should be uploaded with correct metadata. Without it, platforms may show it as a weird flat rectangle. That is not immersive. That is just sad.
Which One Should You Choose?
Choose 180-degree video when your message is clear and direct. It is best when the viewer should watch a person, product, lesson, or performance.
Choose 360-degree video when place is the star. It is best when viewers should explore, inspect, or feel surrounded by an environment.
Here is the quick cheat sheet:
- Training demo: 180
- Factory safety simulation: 360
- Product launch speech: 180
- Apartment tour: 360
- Yoga class: 180
- Theme park preview: 360
The secret is simple. Use 180 when attention matters most. Use 360 when presence matters most. Get that right, and your video will feel natural instead of gimmicky.